

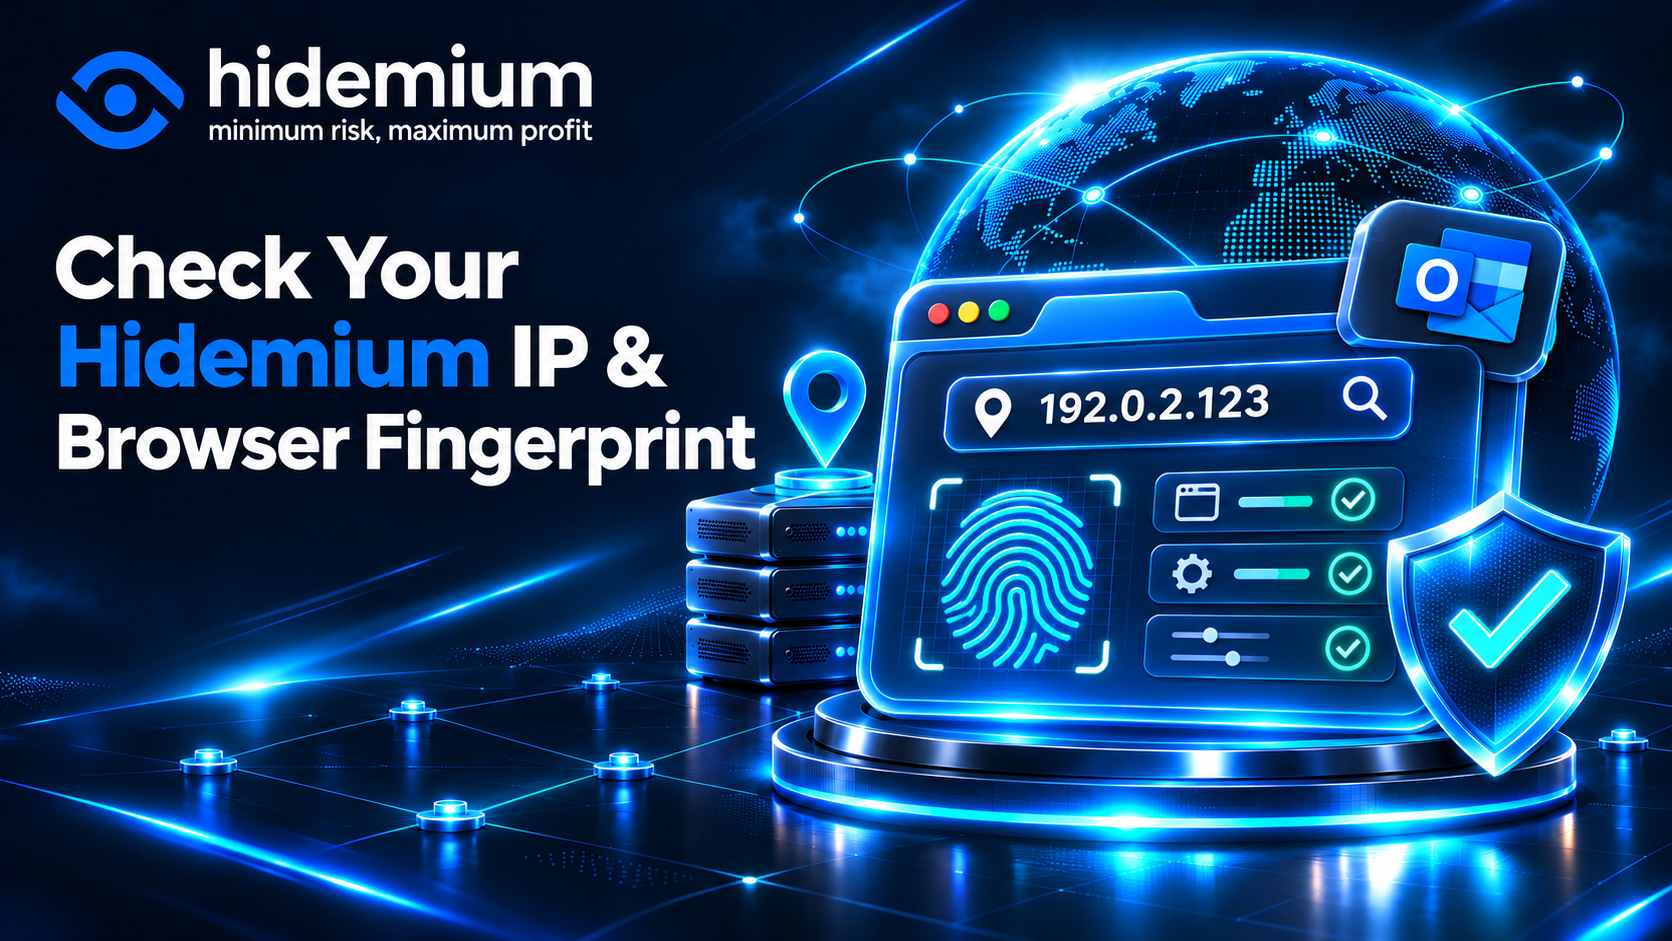
Creating a Hidemium profile and adding a proxy doesn’t automatically mean the browser environment is working as intended. You still need to check the outgoing IP address, time zone, language, WebRTC, and fingerprint information.
This process helps identify issues such as selecting the wrong proxy, settings that haven’t been applied, or opening a test page outside the profile.
This guide explains how to run checks in Hidemium, interpret the results, and troubleshoot anything unexpected. The goal is to confirm that the environment is following your configuration. Test results are not proof of anonymity and cannot guarantee that a website won’t ask you to verify your account.
Quick answer: How do you check a Hidemium profile?
After creating a profile:
- Check the proxy and saved configuration.
- Open the profile you want to use.
- Visit an IP-checking page in the profile window.
- Compare the IP address, country, and network provider with your proxy information.
- Check the time zone, language, operating system, and browser.
- Run WebRTC and DNS tests.
- Save the results, then close and reopen the profile to compare them.
Always run the checks inside the profile you plan to use. Results from Chrome outside Hidemium don’t represent the Hidemium environment.
What’s the difference between an IP address and a browser fingerprint?
An IP address reflects the network connection
A public IP address is the address a destination server sees from your connection. When using a proxy, confirm that the profile is using the intended proxy endpoint.
Keep in mind that the proxy server address in the configuration may differ from the outgoing IP address. A proxy service may use a gateway domain as its connection point while providing a different outgoing IP.
A browser fingerprint reflects the browser environment
A browser fingerprint can be built from information such as:
- Operating system, browser version, and User-Agent.
- Time zone, language, and screen dimensions.
- WebGL, Canvas, and observable device characteristics.
A correct IP address doesn’t mean every fingerprint setting is correct. Check these two groups of information separately.
The roles of Hidemium and testing tools
Hidemium helps you create, configure, and manage profiles. Testing tools show the actual output after configuration.
You can start with Hidemium’s Free Tools, then use an independent tool to cross-check the results when needed. Don’t draw conclusions from a single overall score.
How to check an IP address and browser fingerprint
Step 1: Confirm the saved profile and proxy settings
Open the profile configuration you want to check and review:
- The profile name and purpose.
- The proxy protocol, server, port, and authentication method.
- Whether the session keeps the same IP or rotates.
- Any settings you changed manually.
If your version includes a proxy test feature, run it before opening the profile.
Expected result: The information is saved correctly, and the connection test succeeds if one is available.
Note: A successful proxy connection doesn’t prove that the profile is using the correct outgoing IP.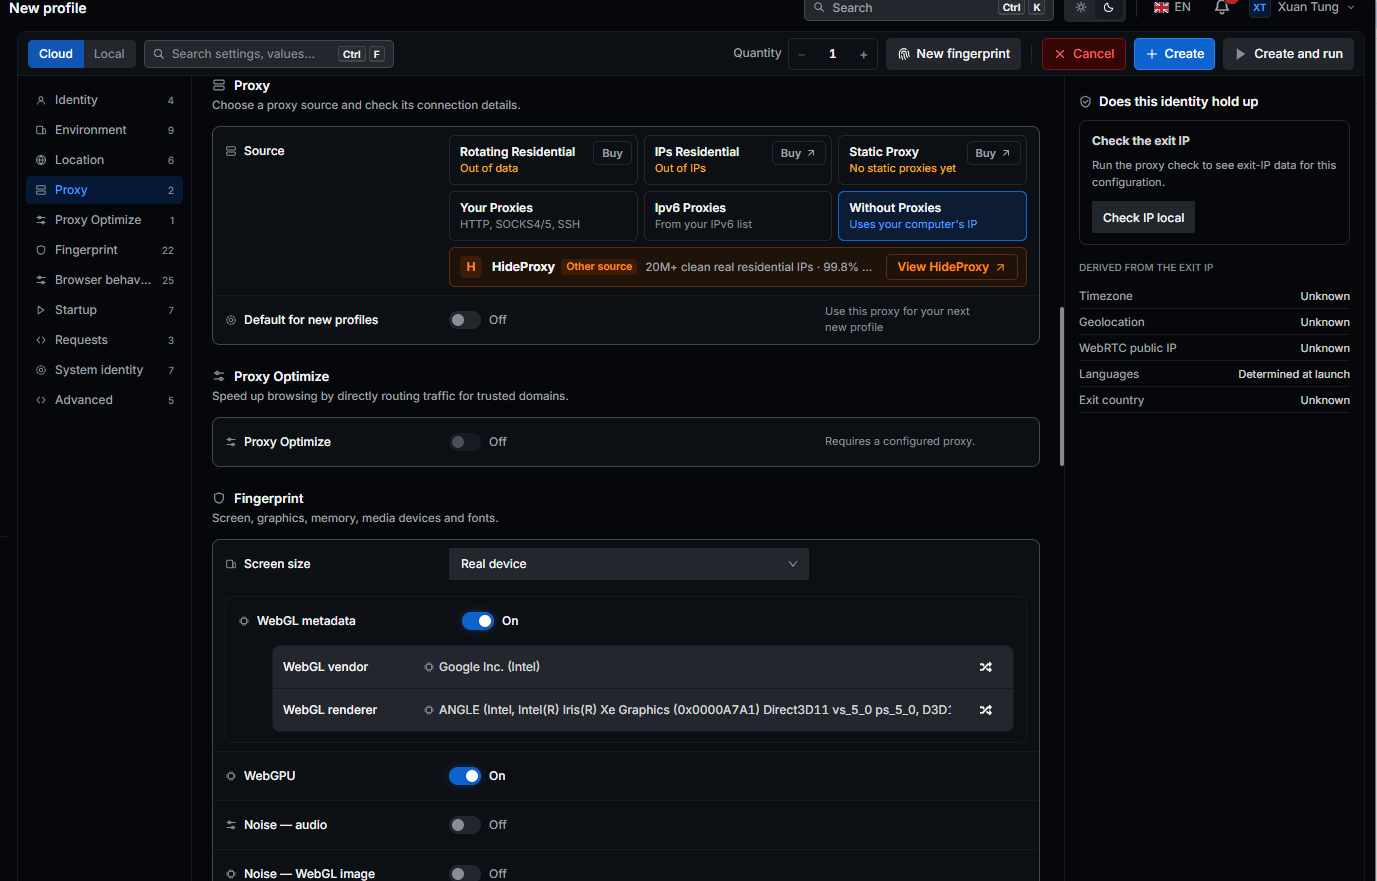
Step 2: Open a testing tool inside the profile
Start the profile, then enter the testing page’s address in the address bar of the window that opens.
Use a general testing page to check the IP address and browser information, then run separate WebRTC and DNS tests.
Expected result: The testing page is open in the correct profile.
Note: If you have several profiles open, test them one at a time and record each profile’s name to avoid mixing up the results.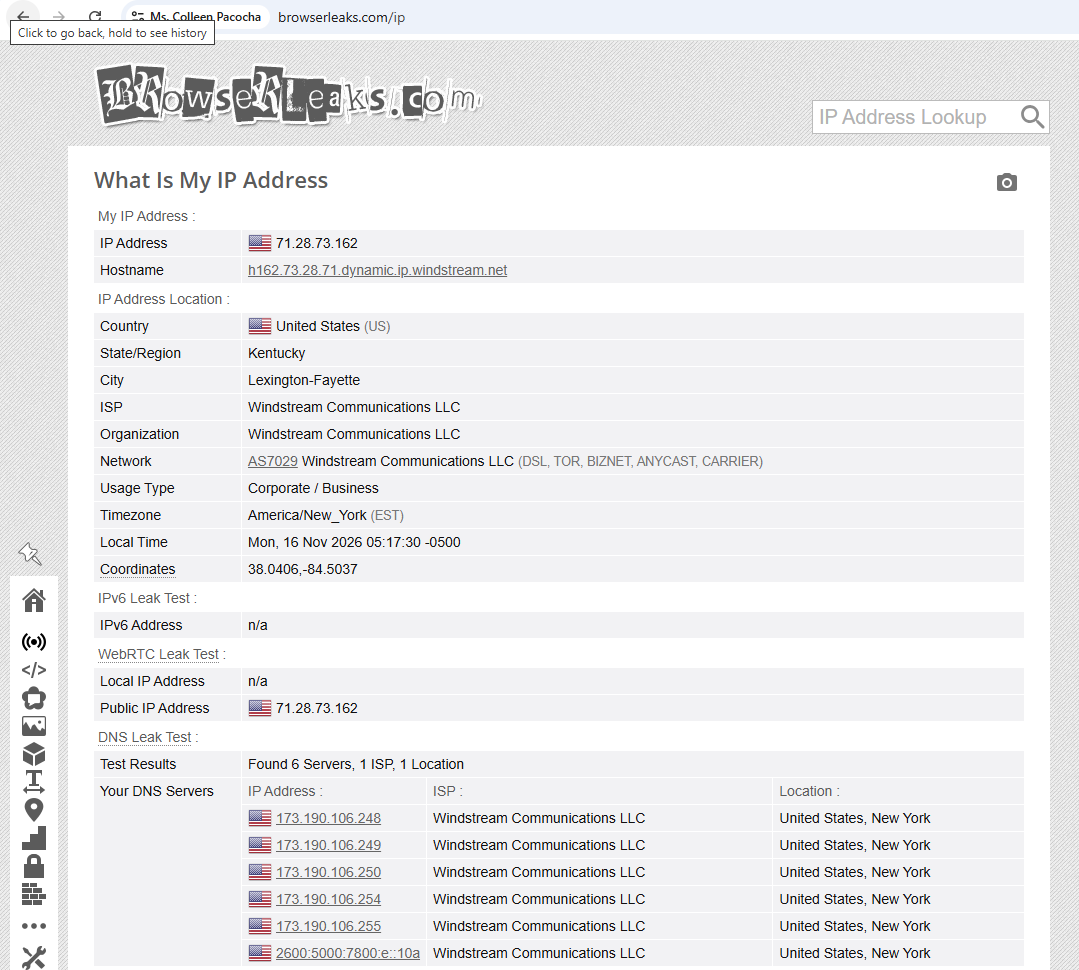
Step 3: Check the outgoing IP address
Record the IPv4 address, IPv6 address if available, country, network provider or ASN, and time of the test. Compare these details with the outgoing IP information provided by your proxy provider for the current session.
Expected result: The IP address and network information are consistent with the service, location, and session type you selected.
Note: A rotating proxy may change its IP according to the plan’s rules. If you need to keep the same IP, check the session duration and the conditions under which the IP can change.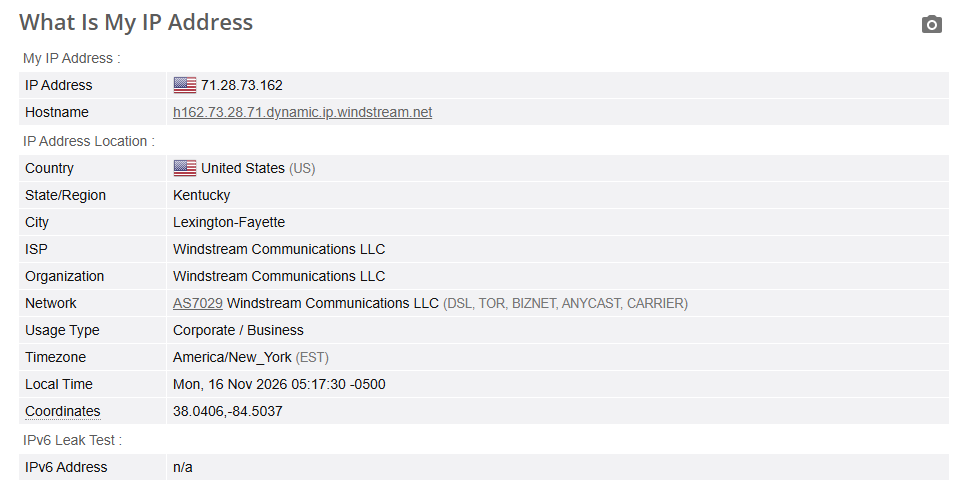
Step 4: Check the browser and regional settings
Compare the operating system, browser version, User-Agent, time zone, and language with your selected configuration.
If you don’t need advanced customization, consider using the automatic User-Agent option that matches your configuration instead of entering a string manually.
Expected result: The displayed information reflects the settings you chose.
Note: An IP address doesn’t have an operating system that the profile must “match.” The language doesn’t have to match the IP country either; assess both according to your intended use.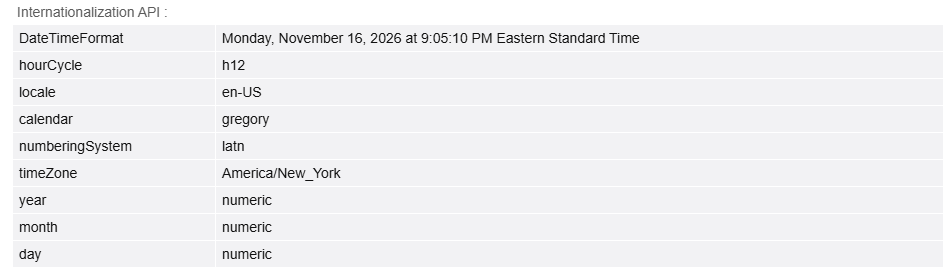
Step 5: Check WebRTC and DNS
Open the WebRTC Leak Test in the same profile. Record the addresses shown and distinguish between public IP addresses, internal addresses, and mDNS names.
Next, run the DNS Leak Test to see which servers are resolving domain names.
Expected result: There are no unexpected connection paths, and the results can be explained by the network configuration in use.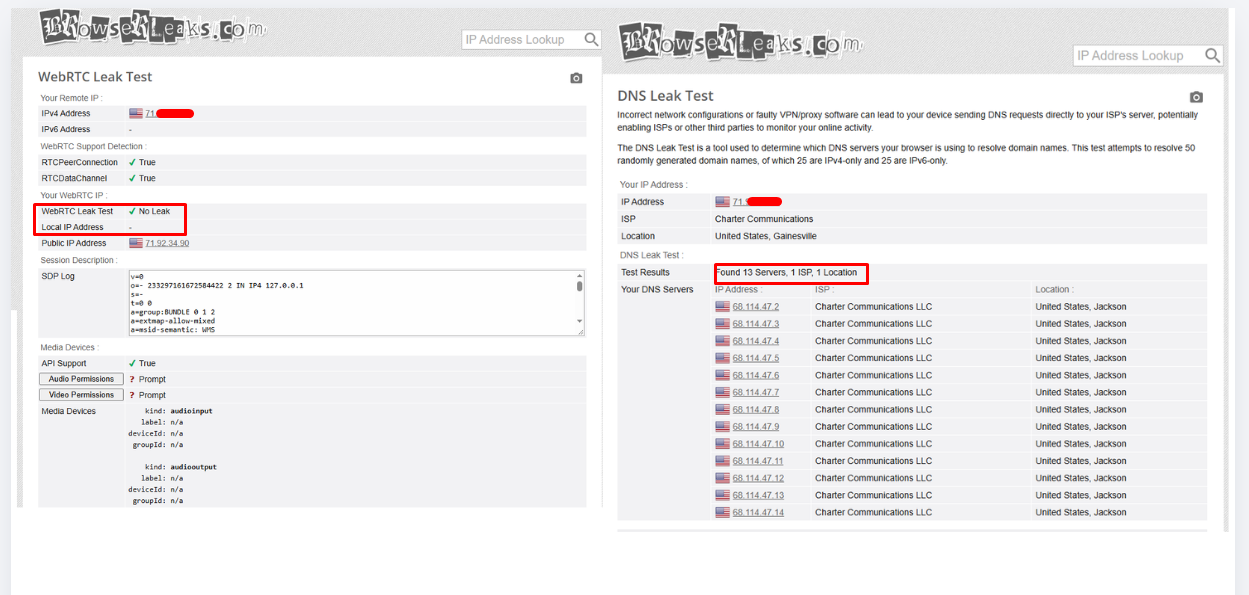
Note: A DNS resolver is not the outgoing IP address. An internal address in the WebRTC results alone isn’t enough to conclude that your public IP address has been exposed.
Step 6: Save your results and check again
Save the initial results, close the profile properly, and reopen it. Run the same checks under similar conditions.
Expected result: Settings that should remain fixed haven’t changed unexpectedly. Changes caused by proxy rotation or a software update should be explainable.
Note: You don’t need every fingerprint value to remain unchanged in all circumstances. Compare each field and review the configuration history.
How to read the test results
| Field | What it means | How to check it |
|---|---|---|
| Public IP | The IP address visible to the testing page | Compare it with the current proxy output |
| Country, city | The location estimated from an IP database | Prioritize the country; verify further if the city differs |
| ISP or ASN | The organization or network associated with the IP | Compare it with the provider’s information |
| User-Agent | A string describing the browser and operating system | Compare it with your settings and related signals |
| Time zone | The time zone reported by the browser | Check whether automatic or manual settings are enabled |
| Language | The language provided by the browser | Compare it with your intended use |
| WebRTC IP | An address detected through WebRTC | Distinguish between public, internal, and mDNS addresses |
| DNS servers | Servers that resolve domain names | Check the provider and DNS resolution path |
| Canvas, WebGL | Graphics output and environment information | Compare them with your settings and previous tests |
Example: The profile is set to use an automatic time zone, but the page still shows an old manual value. Check the saved setting, close and reopen the profile, then test again. Don’t change the proxy, User-Agent, and WebGL settings at the same time; doing so makes it harder to identify the cause.
Special case: The results don’t match your expectations
Two tools show different IP locations
Compare the specific IP address and the time of each test. If the IP address is the same but the city differs, the cause may be the geolocation database.
If the IP addresses differ, check whether the proxy rotates and confirm that both tests were run in the same profile.
WebRTC shows an internal address
This alone doesn’t prove that your original public IP address has been exposed. Identify the address type and check whether an unexpected public IP address appears.
If you can’t explain the result, save it along with the WebRTC settings for further review.
DNS shows a different country from the proxy
A DNS resolver being in a different country from the IP address isn’t enough to prove a leak. Check the resolver provider and the actual DNS configuration. An anycast DNS service may appear to be in a different location.
A tool doesn’t return data
Record the result as “no result yet”; don’t treat it as a pass.
Try reloading the page, checking content-blocking extensions, or using another tool to cross-check. Change only one configuration setting at a time while troubleshooting.
Common mistakes
Looking only at the overall score
Scores depend on each tool’s criteria. Read which field triggered a warning and why instead of focusing only on achieving a high score.
Assuming that changing the IP changes the entire fingerprint
A proxy handles the network connection; browser signals need to be checked separately. After changing proxies, check the IP address and any settings that depend on it.
Forcing every setting to match the proxy country
Language, operating system, and IP country don’t have to match each other exactly. What matters is that the configuration is intentional and the output reflects your settings.
Changing several settings at once
Changing the proxy, time zone, User-Agent, and WebGL at the same time makes it harder to find the cause of a problem. Save the original settings and change one factor at a time.
Treating a good test result as a guarantee against verification
A test checks only part of the environment at a particular time. The destination website has its own verification process and assessment criteria.
Checklist before using a Hidemium profile
- Confirm the profile and its intended purpose.
- Make sure the proxy settings are correct and the proxy connects.
- Run the testing tool inside the profile.
- Confirm that the outgoing IP matches the proxy session.
- Record the IPv4 and IPv6 addresses, if available.
- Check that the time zone, language, and browser match your configuration.
- Distinguish between the different address types in the WebRTC results.
- Check the DNS resolver provider.
- Clearly mark any fields that returned no data.
- Save the test time and results.
- Run the checks again after changing settings or switching proxies.
Frequently asked questions
Should I check the profile after the proxy reports a successful connection?
Yes. You still need to confirm the outgoing IP address and browser information inside the profile.
Can I use Chrome outside Hidemium to run the checks?
Those results reflect Chrome’s external environment. Run the main checks inside the Hidemium profile you plan to use.
When should I run the checks again?
Run them after creating a profile, changing a proxy, editing settings, updating the browser, or noticing an unexpected change.
Is a fingerprint always a fixed hash?
No. Each tool may use a different set of data and calculation method. Don’t compare hash values directly across different tools.
Do two profiles using the same IP have the same fingerprint?
Not necessarily. An IP address is only one network signal; a fingerprint includes many browser characteristics. However, a website may still consider the fact that both profiles use the same IP.
Does passing a test replace a website’s verification process?
No. You still need to complete verification and follow the service’s policies.
Conclusion: Check your configuration before using a profile
After creating a Hidemium profile, check the outgoing IP address, browser information, WebRTC, and DNS. Save the results so you can compare them across sessions.
If something looks unusual, identify the field that differs and change one setting at a time. This helps you understand how the environment is working and troubleshoot issues more effectively.
Start checking your profile with Hidemium’s Free Tools. If you need to adjust a setting, consult the Hidemium documentation before making changes.